Unlock the Power of Accuracy: How to Create a Table of Figures in Google Docs Like a Pro
Creating a table of figures in Google Docs can be a daunting task, especially for those who are new to the platform or are not familiar with the formatting tools. However, with the right guidance, anyone can create a professional-looking table of figures that accurately reflects the content of their document. In this article, we will take you through the step-by-step process of creating a table of figures in Google Docs, providing you with the knowledge and confidence to tackle even the most complex documents.
If you are a student, researcher, or even a business professional, creating a table of figures is an essential skill that can save you time and effort in the long run. A well-crafted table of figures can help you keep track of the various elements in your document, such as tables, figures, and citations, and ensure that your work is presented in a clear and concise manner. In this article, we will explore the different ways to create a table of figures in Google Docs, using both the built-in tools and third-party add-ons.
**What is a Table of Figures?**
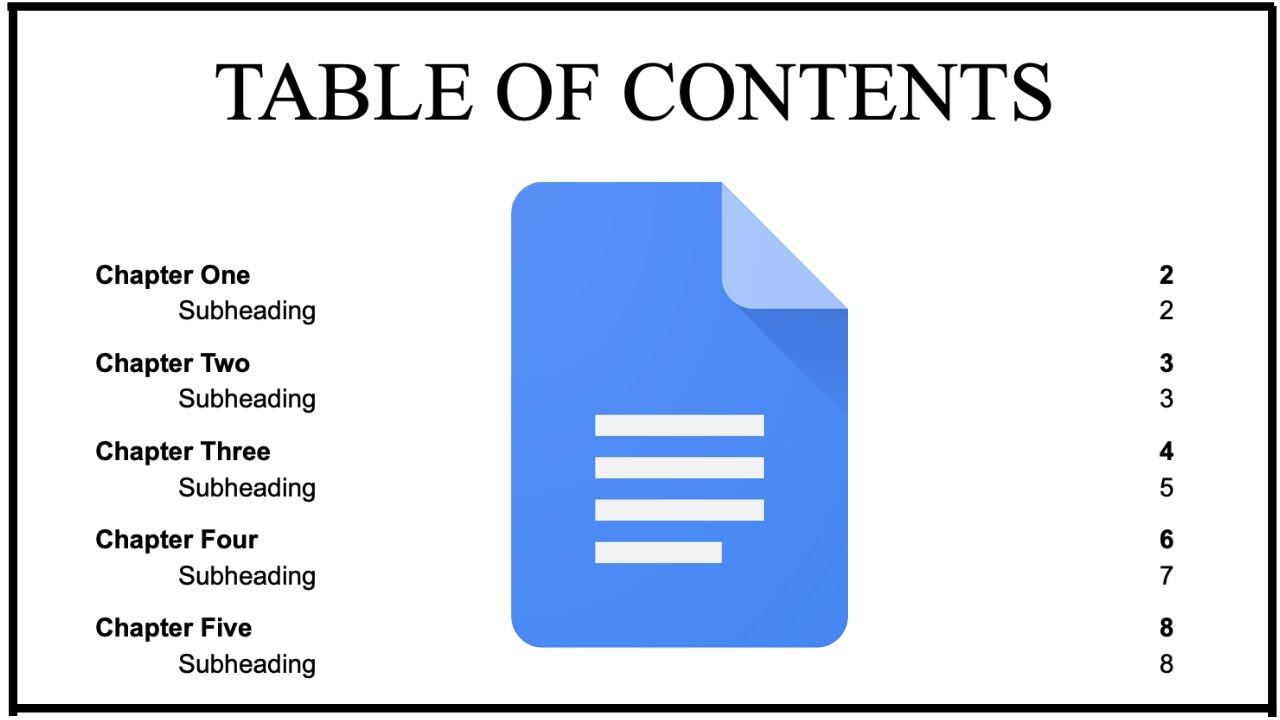
A table of figures, also known as a table of contents or a list of tables and figures, is a list of headings, subheadings, illustrations, and other elements in a document that are used to break up the content and provide a clear visual hierarchy. The table of figures usually appears at the beginning or end of the document and serves as a quick reference guide for the reader.
**The Benefits of Creating a Table of Figures in Google Docs**
Creating a table of figures in Google Docs offers several benefits, including:
* **Improved Accuracy**: A well-crafted table of figures ensures that your document is free from errors and inconsistencies.
* **Reduced Time Spent**: By automating the process of creating a table of figures, you can save time and effort that can be better spent on other tasks.
* **Enhanced Productivity**: With a table of figures in place, you can focus on writing and editing your content without worrying about the layout and organization of your document.
**Step-by-Step Guide to Creating a Table of Figures in Google Docs**
Creating a table of figures in Google Docs is a straightforward process that involves the following steps:
**Step 1: Insert a Table of Figures**
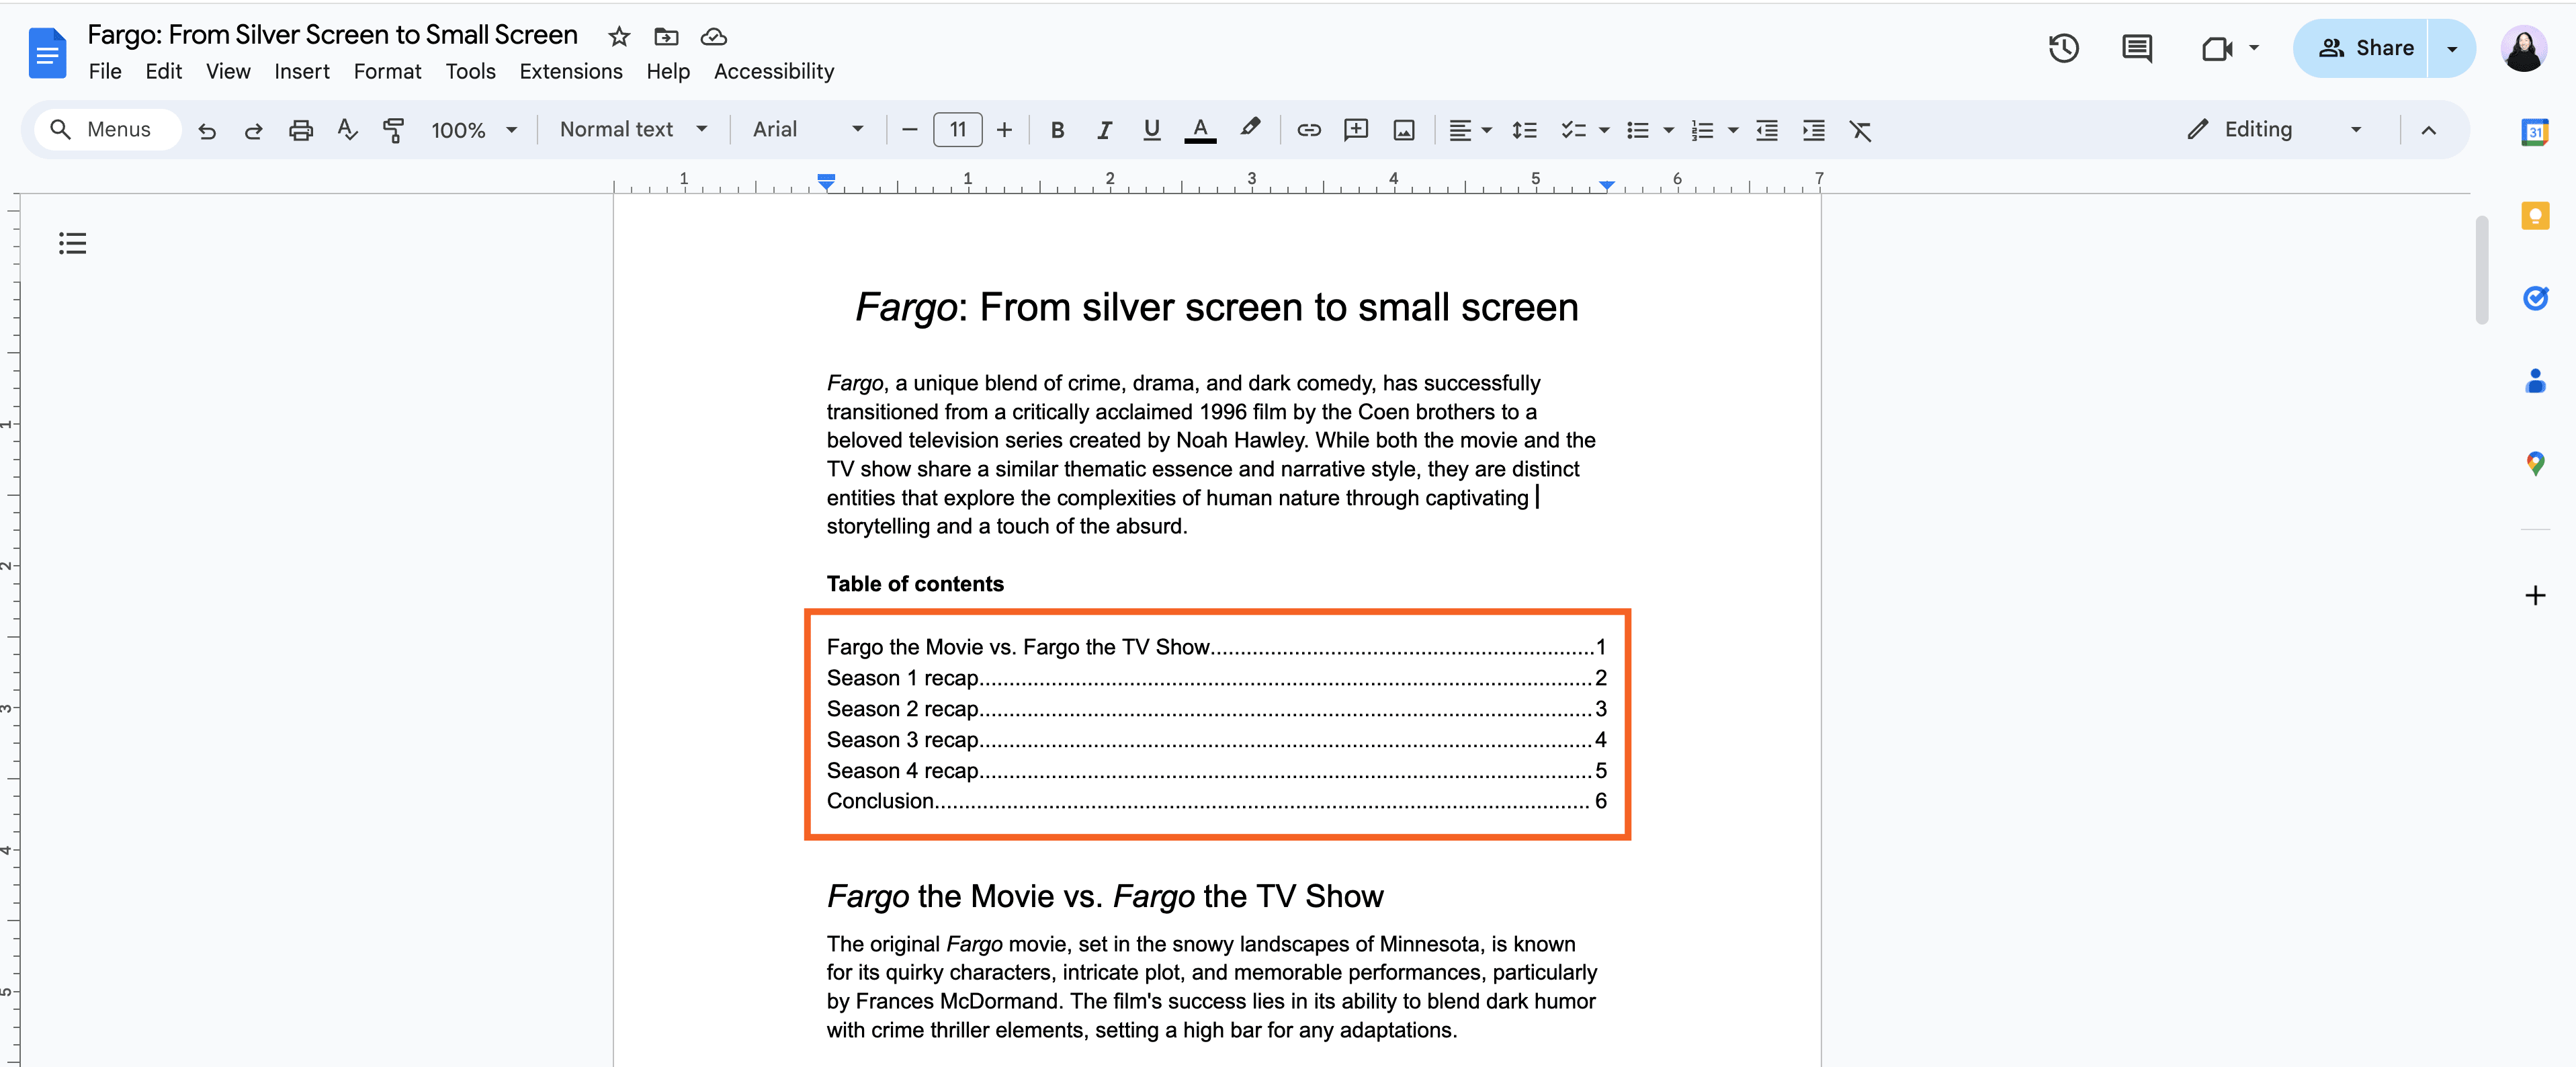
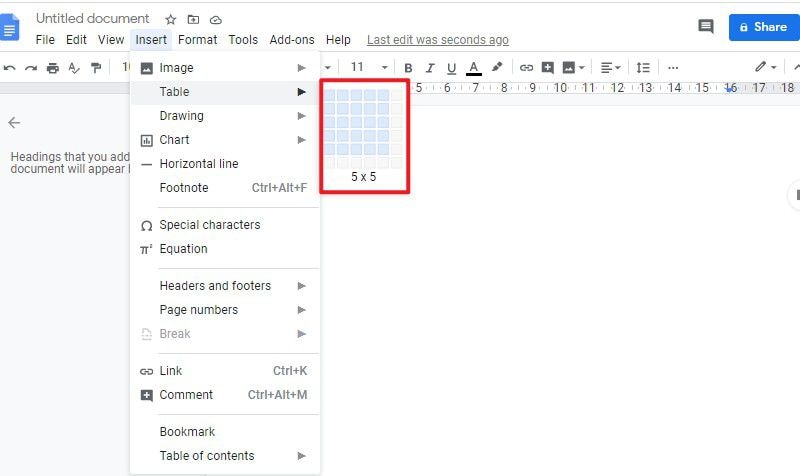
To insert a table of figures in Google Docs, click on the "Insert" menu and select "Table of Contents." This will open a new window where you can select the type of table of figures you want to create.
**Step 2: Customize the Table of Figures**
Once you have inserted a table of figures, you can customize it by selecting the tables, figures, and citations that you want to include. You can also adjust the formatting and layout of the table to suit your needs.
**Step 3: Add Table and Figure Numbers**
To add table and figure numbers, click on the "Options" icon in the "Table of Contents" window and select "Table and Figure Numbers." This will allow you to specify the starting number for tables and figures and the increment between numbers.
**Step 4: Update the Table of Figures**
As you add or remove elements in your document, you will need to update the table of figures to reflect the changes. To do this, click on the "Update" button in the "Table of Contents" window.
**Using Third-Party Add-Ons to Create a Table of Figures in Google Docs**
While Google Docs offers a built-in feature for creating a table of figures, there are also several third-party add-ons available that can make the process easier and more efficient. Some popular add-ons include:
* **TabTitle**: A add-on that allows you to quickly and easily insert a table of contents into your document.
* **DocSawa**: A add-on that provides a range of features, including a table of figures generator and a citation manager.
**Best Practices for Creating a Table of Figures in Google Docs**
To ensure that your table of figures is accurate and effective, follow these best practices:
* **Use Clear and Concise Headings**: Use clear and concise headings to break up the content of your document and provide a clear visual hierarchy.
* **Use Numbered Lists**: Use numbered lists to organize and present complex information in a clear and concise manner.
* **Use Inconsistent Font Sizes and Styles**: Use inconsistent font sizes and styles to draw attention to important information and create visual interest.
By following these best practices and using the step-by-step guide above, you can create a professional-looking table of figures in Google Docs that accurately reflects the content of your document. With practice and patience, you will become proficient in creating a table of figures and will be able to enhance your productivity and accuracy when working on complex documents.
Conclusion
Creating a table of figures in Google Docs is a straightforward process that requires attention to detail and the ability to follow instructions. By following the step-by-step guide provided in this article, you can create a professional-looking table of figures that accurately reflects the content of your document. Whether you are a student, researcher, or business professional, creating a table of figures is an essential skill that can save you time and effort in the long run.